These are Dave words from the book:
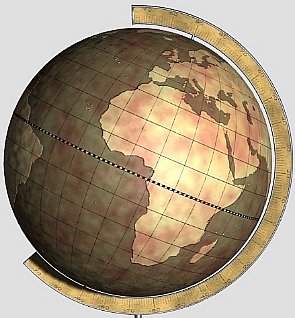
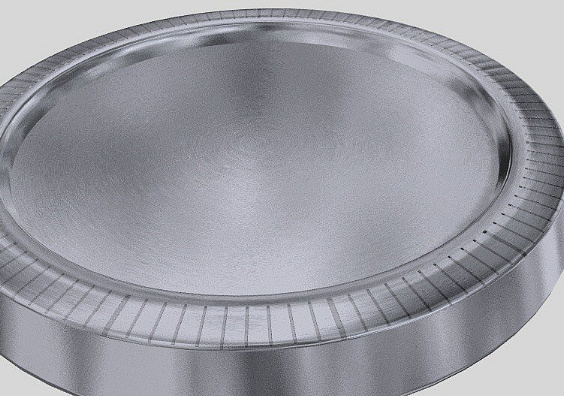
"Normally a surface like this would make the use of a procedural texture
nearly impossible, but this surface has an Incline towards the centre, which opens up a
couple of possibilities. The first possibility is that we can use that incline to "bend"
a procedural texture to follow the curve of the surface.
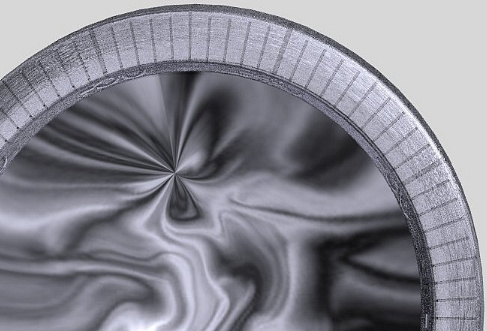
Click the Bump map button and select Fractal Bumps as the texture. The
angle of the polygons on this surface give it a thickness of 4.5mm on the Z axis, which
isn't much but a texture map with a small size on the Z axis would appear to stretch
outward across the width of this ring. To see this demonstrated give the texture a value
of 10mm on the X and Y axis and a much smaller size of 0.01mm on the z axis. Increase the
texture amplitude to 100% and click use texture.
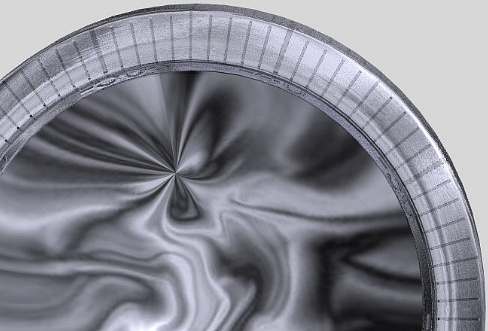
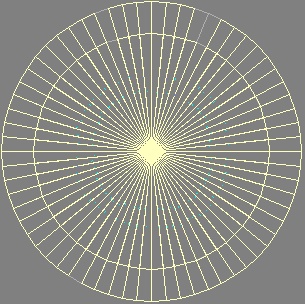
Another technique is to apply an image to this surface and have that image
bend to conform to this curve as well. In this case we can add a latitude scale, using a
simple image, and have the surface bend it around in an arc for use.
Click the texture button for the diffuse channel then click add texture to
create a second texture layer. Change this to a cylindrical Image map and then click the
texture image button. Load the scale image (horizontal image like a ruler) - Select this
as the alpha image and click auto sizing - also activate negative alpha. Then make sure
the texture centre values are 0 respectively but leave the Z value alone. Then make the
map apply along the z axis.
We now have a scale that wraps around the curved surface although the image
is straight and flat."


 Facebook
 Twitter